Your wedding vision
How to create a wedding mood board
You have saved the flowers, the table and a ceremony setting you keep coming back to. Here is how to bring those ideas together into a wedding mood board you can actually plan from.
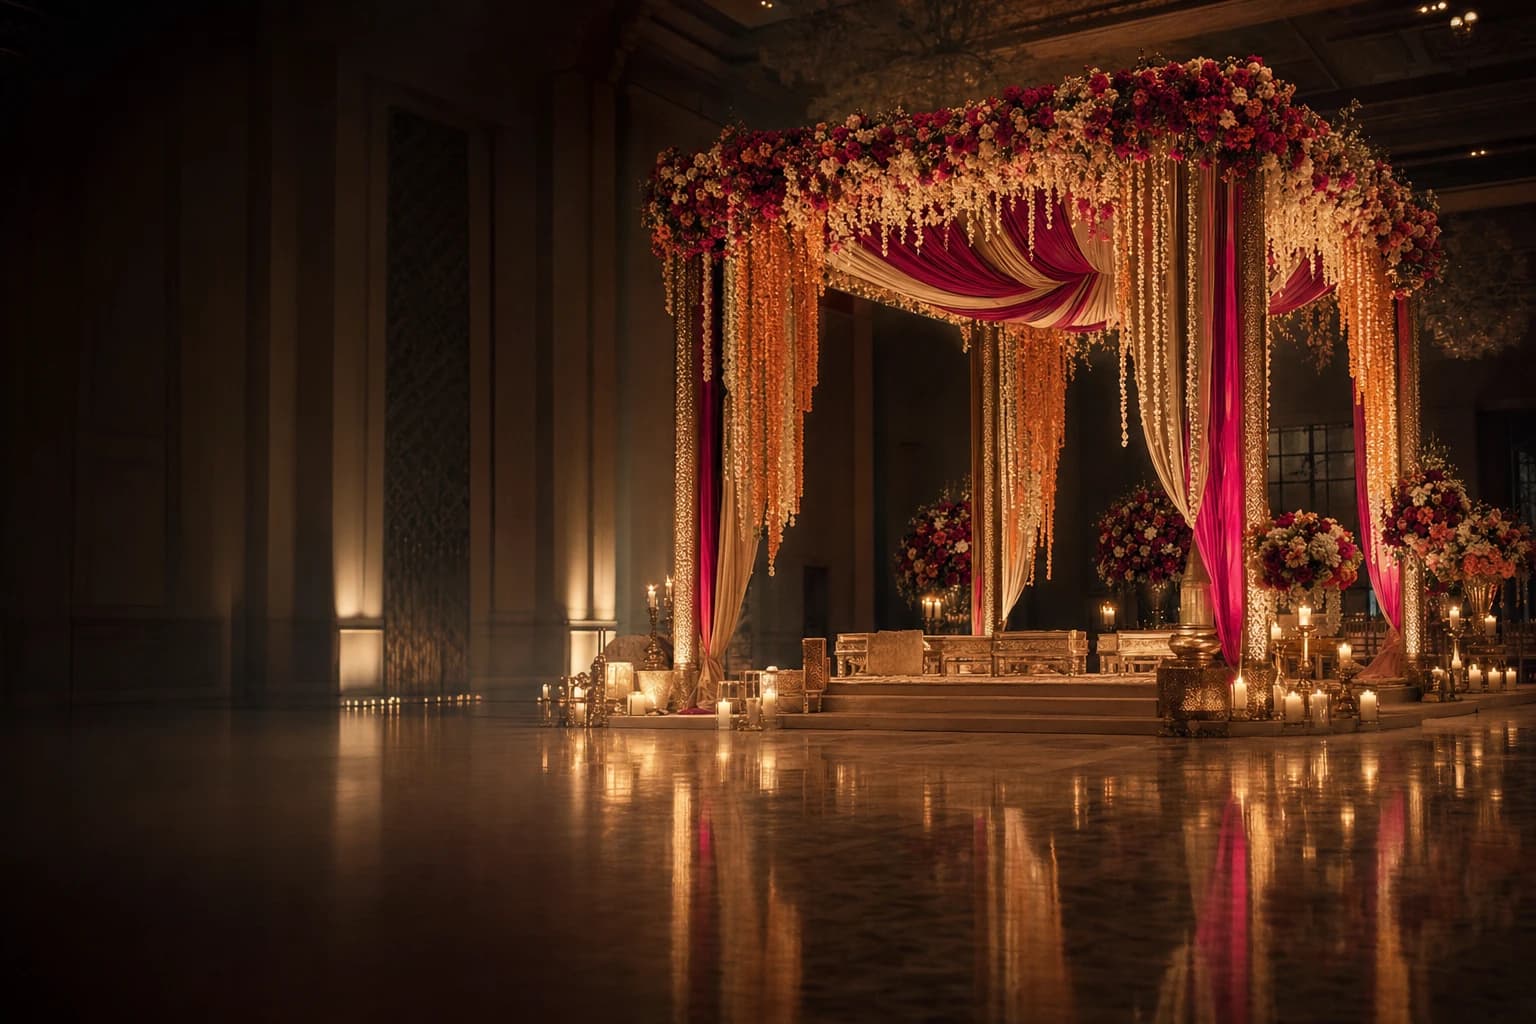
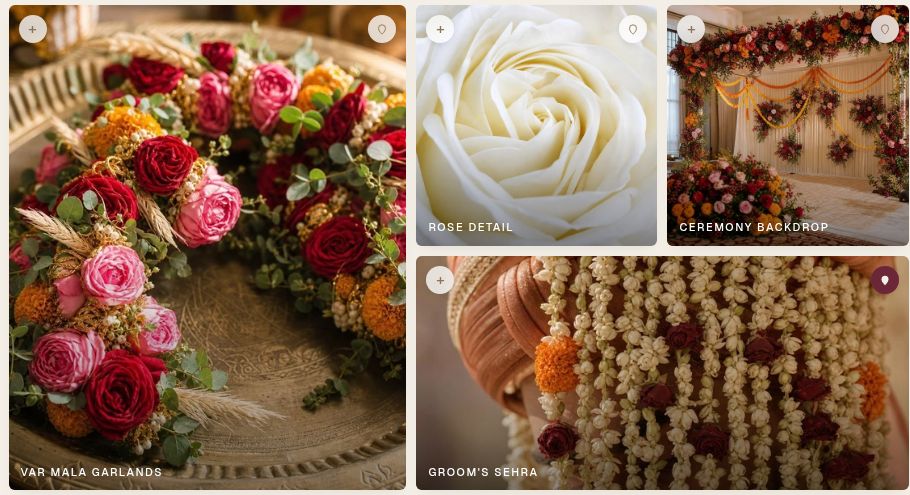
The starting point
A wedding mood board is a small, deliberate collection of images, colours and notes that explains how you want your wedding to feel. The useful part is choosing what belongs, and saying what you love about it.
1. Start with the wedding you are planning
Before you collect more images, write down the shape of the celebration: the season, the region, your approximate guest count and the events you are planning. Add your working budget and anything already decided, such as the venue or an outfit you want to wear.
Keep those notes beside your images. A candlelit ballroom and a bright garden lunch can both appeal to you, but they suggest different directions. Your own plans give you a way to choose between them.
If your venue is booked, include your own pictures from a visit. Notice the walls, floor, furniture and light. You are looking for a style that can work with the space, and you can ask suppliers how to adapt ideas that need more thought.
Try finishing this sentence
“We are planning a summer wedding in London, with a Hindu ceremony and an evening reception. We want the day to feel warm, generous and full of colour.”
2. Find the words behind the pictures
Choose a few words that describe the atmosphere you want: intimate, exuberant, relaxed, sculptural, candlelit, garden-like. Then explain what those words mean to you. “Relaxed” might mean long shared tables to one couple and a small dinner with no formal speeches to another.
Do this with your partner. Each of you can choose an image and explain the detail that draws you in. You may find you share a love of warm light even when your first choices look quite different.
When two ideas pull in different directions, give each a role. One might shape the ceremony and the other the evening celebration. Write that decision down so your board tells a clear story.
3. Keep the images that explain something
Start with a handful of references. Include an overall setting, a closer view of flowers or table details, and something that captures the light or atmosphere. Make the image that best represents your direction the largest or most prominent.
Under each image, add a short note: “the loose shape of the flowers”, “the warm cream against the red”, or “the way the tables feel close together”. This helps a supplier understand which part to respond to.
Keep the original source link with any references you collect elsewhere. If you like only one detail, name it. A picture of an elaborate floral installation might be there for its colour, with no intention of commissioning the whole structure.
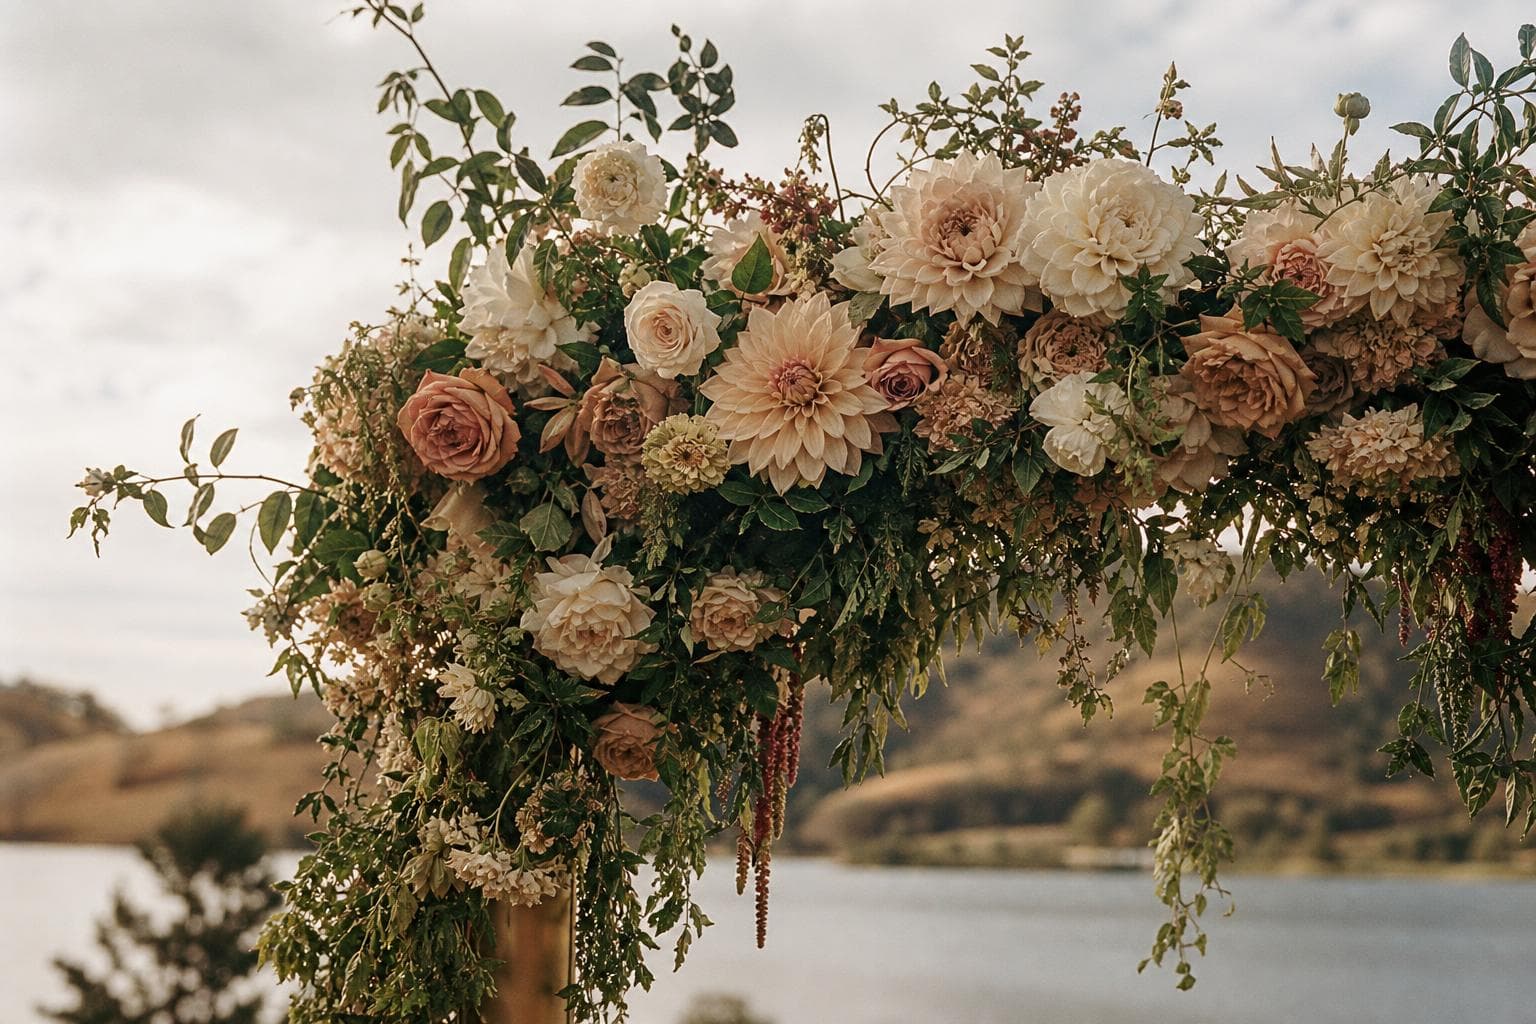
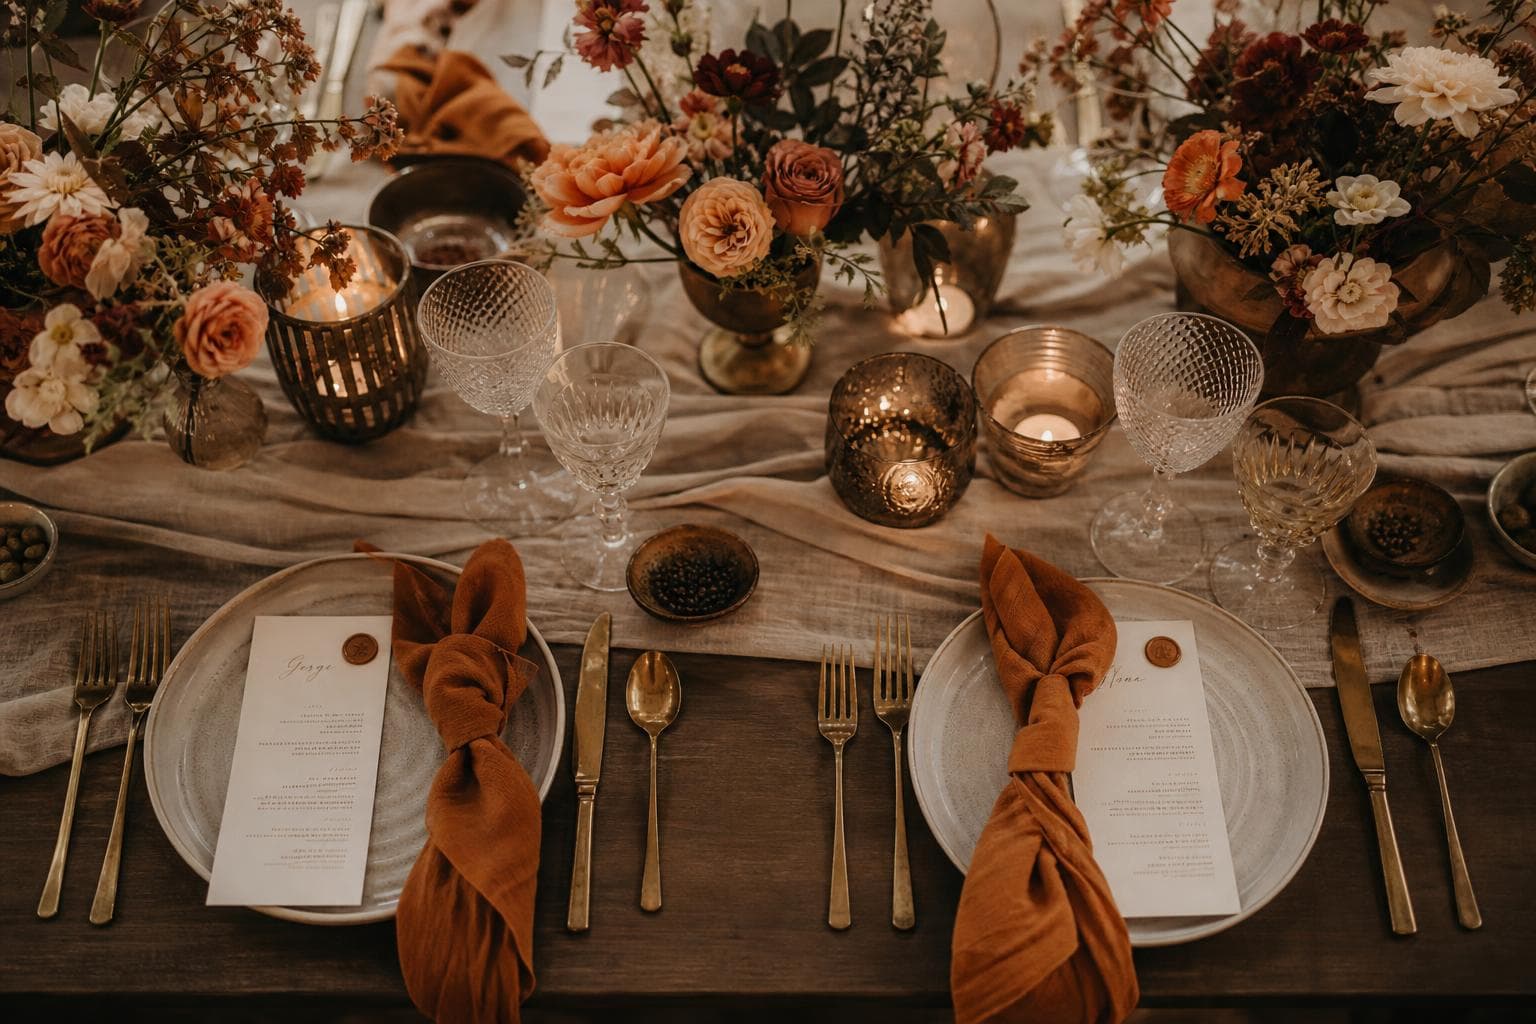
Remove near-duplicates and anything that contradicts your direction without adding something useful. Keep the other possibilities in a separate collection, so the board you share feels considered.
4. Give your colours a role
Choose a main colour, a quieter supporting shade and an accent. You can add a foliage tone or a material, such as warm brass or pale linen. Think about where each belongs: on the ceremony structure, in flowers, across the tables or in a small detail.
Colour names on their own leave a lot open. Show your version of “red” or “cream” in the images and swatches. If a shade needs to sit beside an outfit or a family textile, include a picture of that piece too.
An example palette, with a purpose
Warm red for the main floral statement. Cream to give it breathing room. Clay as a smaller accent, with a muted green running through the foliage.
Treat the palette as a direction for discussion. Ask your suppliers to show you how their materials and flowers interpret it, and flag any colour combinations you want to avoid.
5. Put your traditions into the brief early
Include the ceremony and celebrations you are actually planning. If there is a mandap, chuppah or nikah stage in your wedding, label its purpose and what matters to you about it. Ask the person leading your ceremony which details need to be preserved and what your suppliers need to know.
Give religious objects their proper context and purpose. Ask before moving them or including them in a decorative arrangement.
For a wedding bringing two traditions together, describe each in its own terms. You can share a palette while keeping the meaning of each ceremony clear. For several events, add a label to every reference so your florist or decor supplier knows which moment it belongs to.
6. Break the vision into useful boards
Once the overall direction is clear, organise your references by the decisions they support. Keep the colour palette and atmosphere consistent, while giving each supplier the details relevant to their work.
| Board | What to show |
|---|---|
| Venue | The setting, ceremony layout and atmosphere you want. |
| Attire | Outfits, silhouettes, fabrics and meaningful accessories. |
| Florals | Colour, shape, texture and where arrangements belong. |
| Tablescape | Linens, tableware, flowers and the feel of the meal. |
| Food and drink | Presentation, the style of service and your dietary requirements. |
| Cake | Shape, finish, colour and how you would like it displayed. |
| Celebrations | The feel of each gathering, with the event clearly named. |
These are the seven concept boards in makemywedding.ai. Atlas composes four images for each, using your style, season, region, palette and budget. You can explore the concept boards and planning tools to see how they fit together.
7. Turn the board into a conversation
Before you share a board, mark what matters most and where you are open to suggestions. A useful note might read: “The warm red and cream are important to us. We would love your ideas for flowers and a shape that work in our space.”
Add the practical context: your date, location, the event it is for and the amount you want to allocate to that supplier. Ask what is achievable and what they would adapt. A concept image gives you a visual direction; your supplier can explain the materials, dimensions and work needed to interpret it.
In makemywedding.ai, your pins become a supplier-ready PDF brief per board. Choose the images that best communicate your direction, then share the relevant brief with the supplier yourself. Our guide to writing your wedding florist brief shows the practical details to send alongside it.
Before you share it
Look at your board as though you are seeing it for the first time. Could someone explain the wedding you want without asking you to talk through every image?
- The atmosphere and palette are easy to recognise.
- Each image has a reason to be there, with a note explaining it.
- Each ceremony or event is named, with meaningful details included.
- Your priorities are clear, along with what is still open.
- Your partner has had a chance to add their perspective.
- The supplier will receive the relevant board and the practical details.
You can return to the board as decisions develop. Keep the version you have shared clearly dated, so you and your suppliers know which direction you are discussing.